Basic ESC

3,960.00

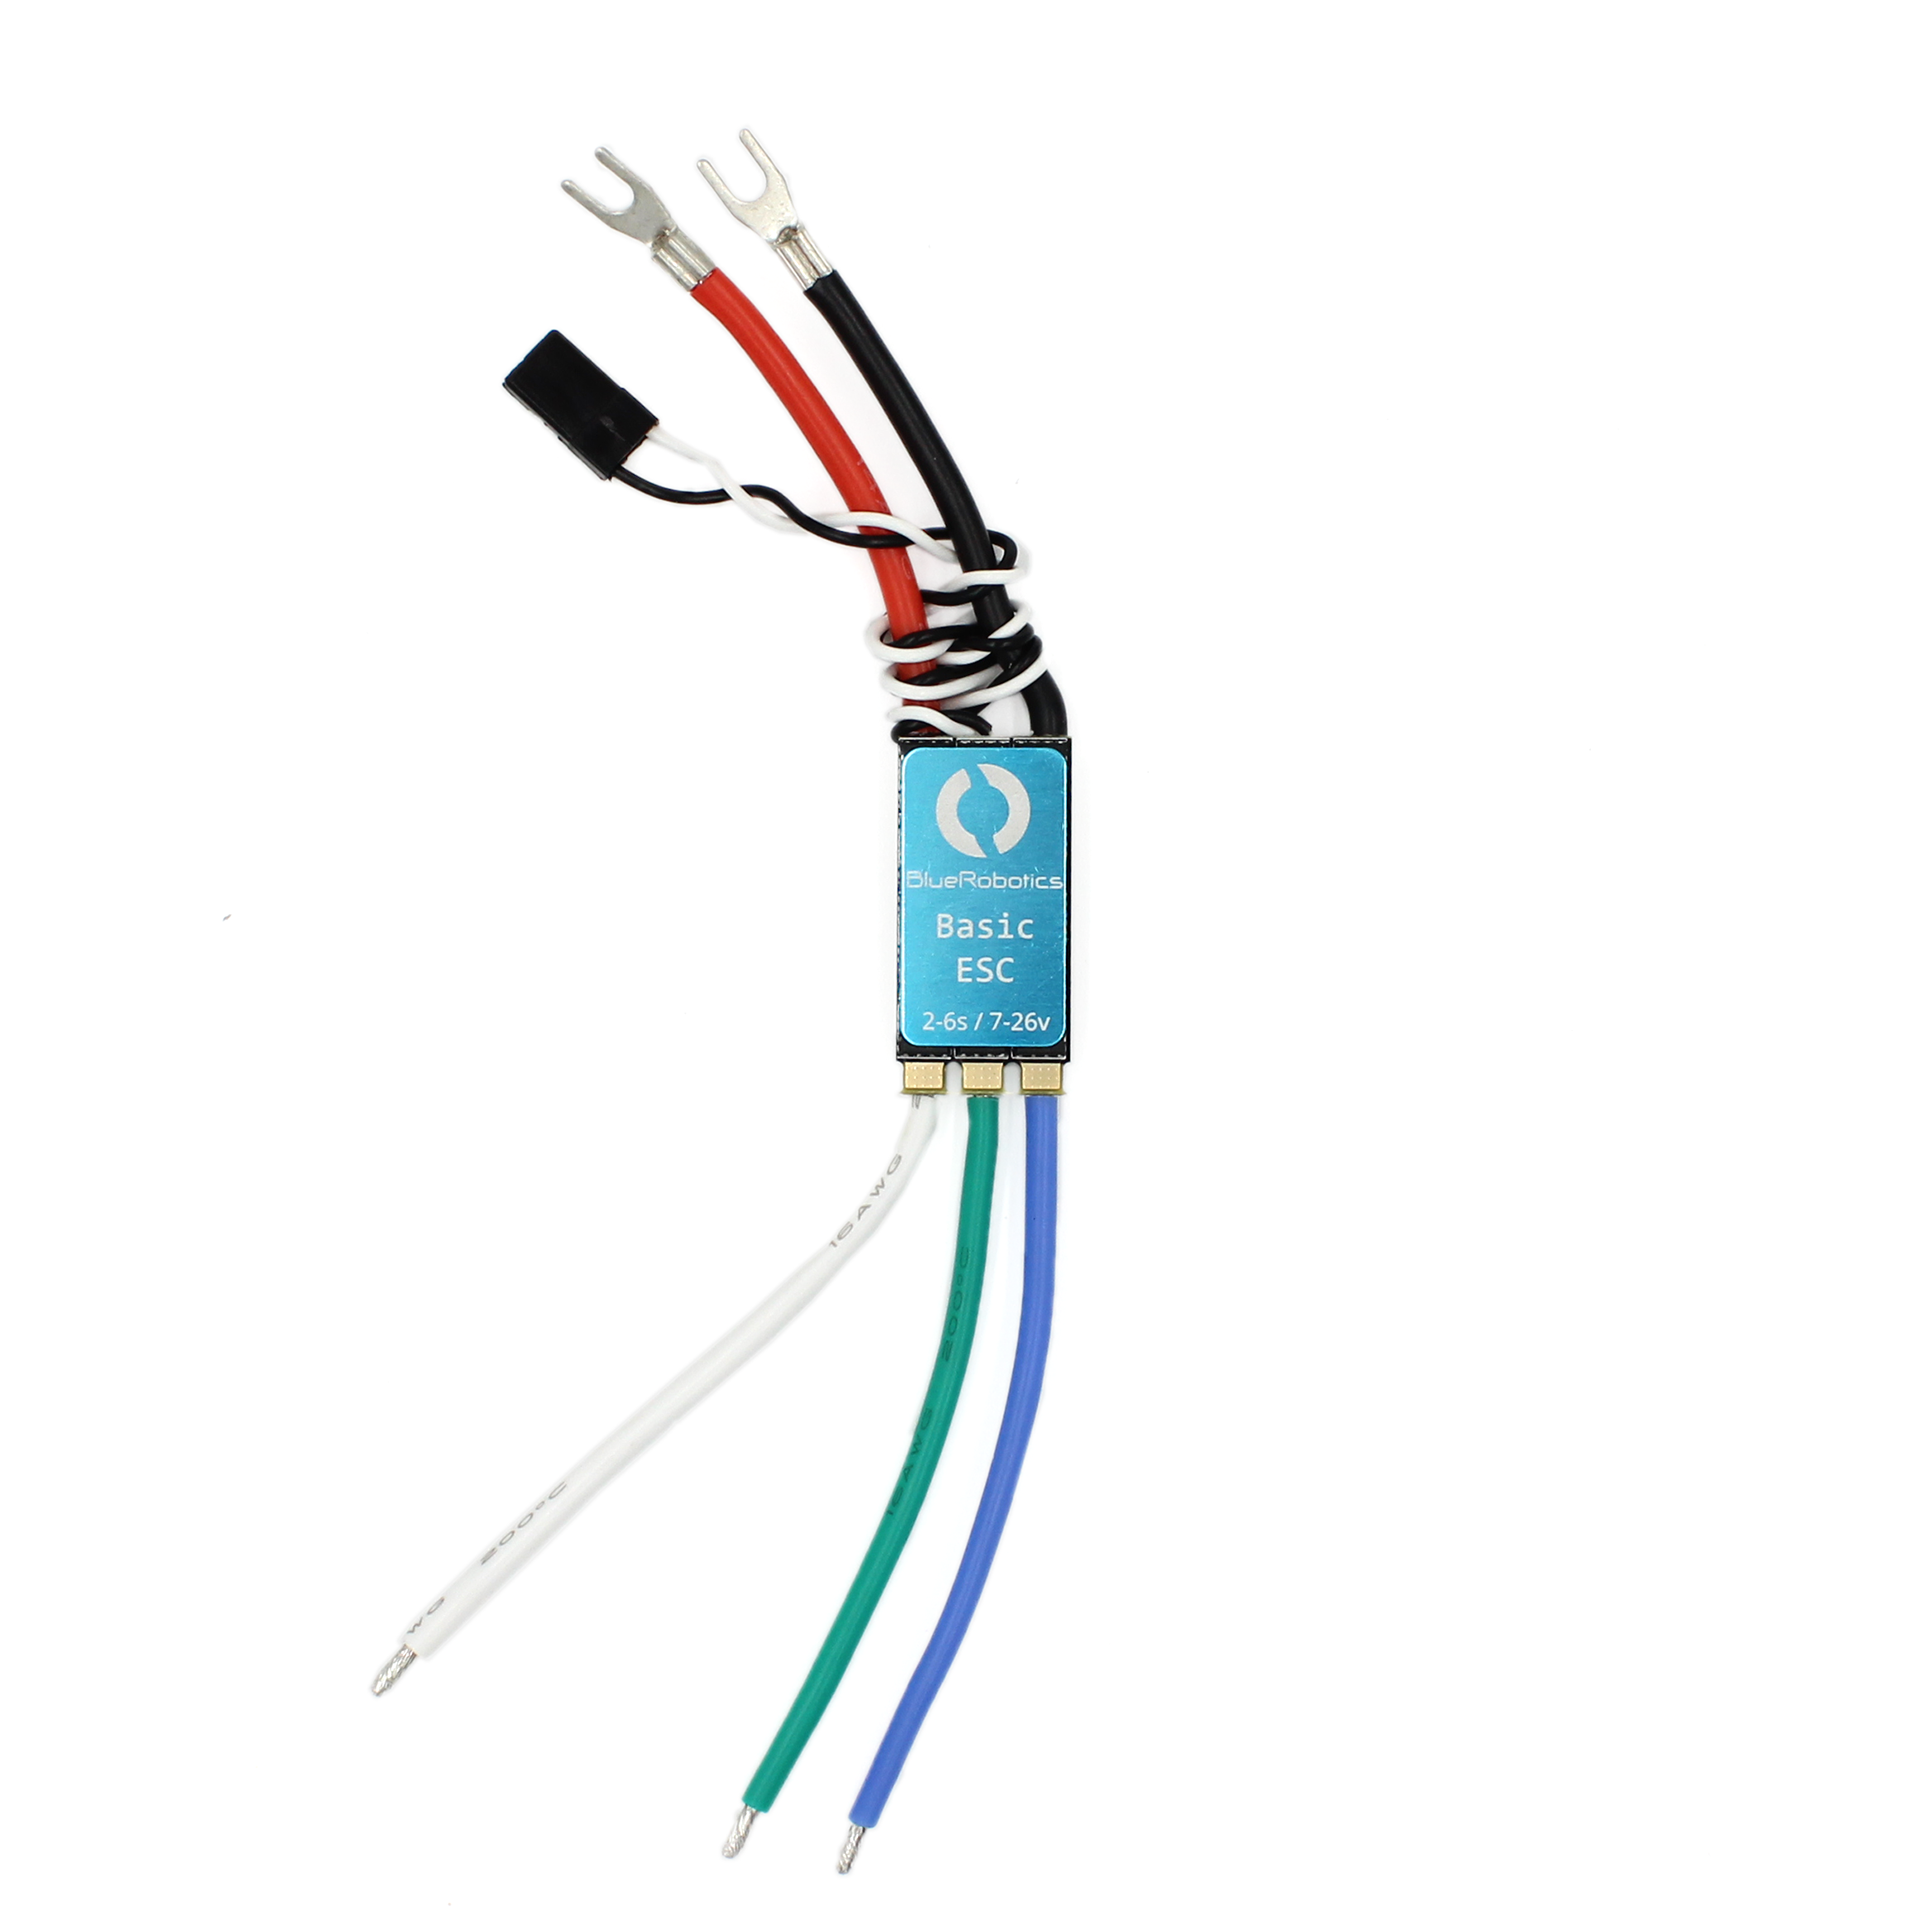
A simple bidirectional electronic speed controller for the T200 Thruster. It’s based on the BLHeli ESC design with upgraded features and performance!

Availability: Only 2 left in stock

Product Description

An electronic speed controller (ESC) is necessary to run any three-phase brushless motor like Blue Robotics’ thrusters and motors. This 30 amp ESC is sufficient for the T200 thruster and runs the BLHeli_S firmware.

Key Features

  • Simple, robust brushless electronic speed controller
  • Compact form factor
  • Forward/reverse rotation direction for forward/reverse thrust
  • Customizable settings in an easy-to-use interface
  • High-efficiency, low-heat design optimized for minimal cooling environments

Contents

  • 1 x Basic ESC

Specifications

Parameter Value
Electrical
Voltage 7-26 V (2-6S)
Max Current (Constant) 30 A (depending on cooling)
Physical
Weight 16.3 g 0.036 lb
Power Connectors Spade terminals for No. 6 screw
Motor Connectors Tinned wire ends
Signal Connector 3-pin servo connector (0.1” pitch) (ground, blank, signal)
Pulse Width Signal
Signal Voltage 3.3-5 V
Max Update Rate 400 Hz
Stopped 1500 μs
Max forward 1900 μs
Max reverse 1100 μs
Signal Deadband +/- 25 μs (centered around 1500 μs)
Firmware Defaults
Directionality Bidirectional (center throttle is zero/stopped)
Thermal Protection Temperature Motor Power Limit
≥140℃ 75%
≥145℃ 50%
≥150℃ 25%
≥155℃ 0%

2D Drawings

3D Models

BESC30-R3 (.zip)

Documents

Revision History

  • 9 November 2017 | R3 – Initial Release

Safety

When working with electricity, especially in water, always practice caution. Always ensure that connections are secure and watertight. Keep your body away from spinning motors and propellers.

Quick Start

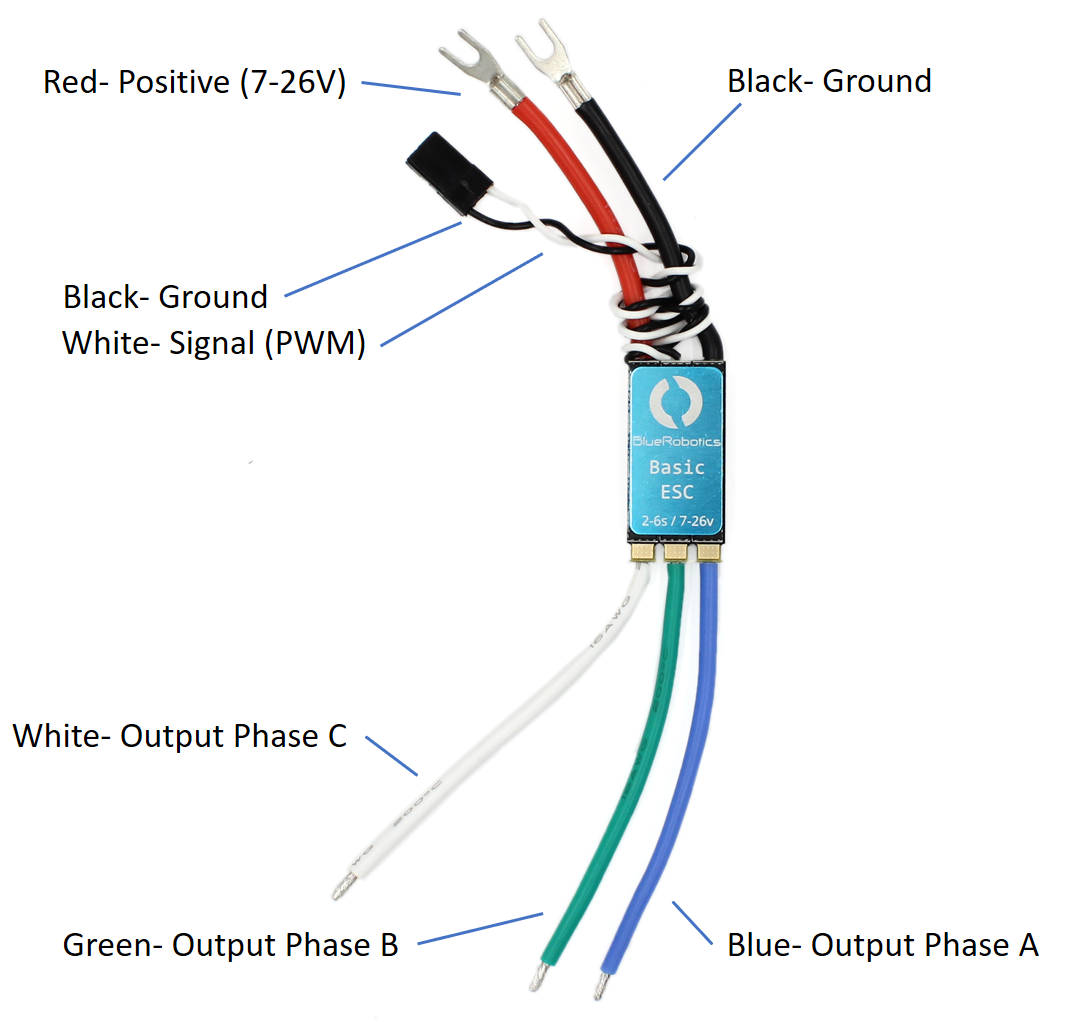
  1. Connect the three motor wires to the motor. The order of connections does not matter; however, switching any two wires will change the direction of the motor. The output phases A, B, and C are completely interchangeable.
  2. Connect the red power wire and black ground wire to a power source like a battery. With a motor connected, you will hear three beeps in rising pitch indicating all three phases are connected.
  3. Connect the signal cable to your signal source like a RC radio receiver or microcontroller board. The white wire is the signal wire.
  4. Send a stopped signal (1500 microseconds) for a few seconds to initialize the ESC. You will hear two tones indicating initialization, and then you can send a signal from 1100-1900 µs to operate the thruster. 1500 – 1900 µs for forward thrust, 1100 – 1500 µs for reverse.

Diagram

Installation and Thermal Considerations

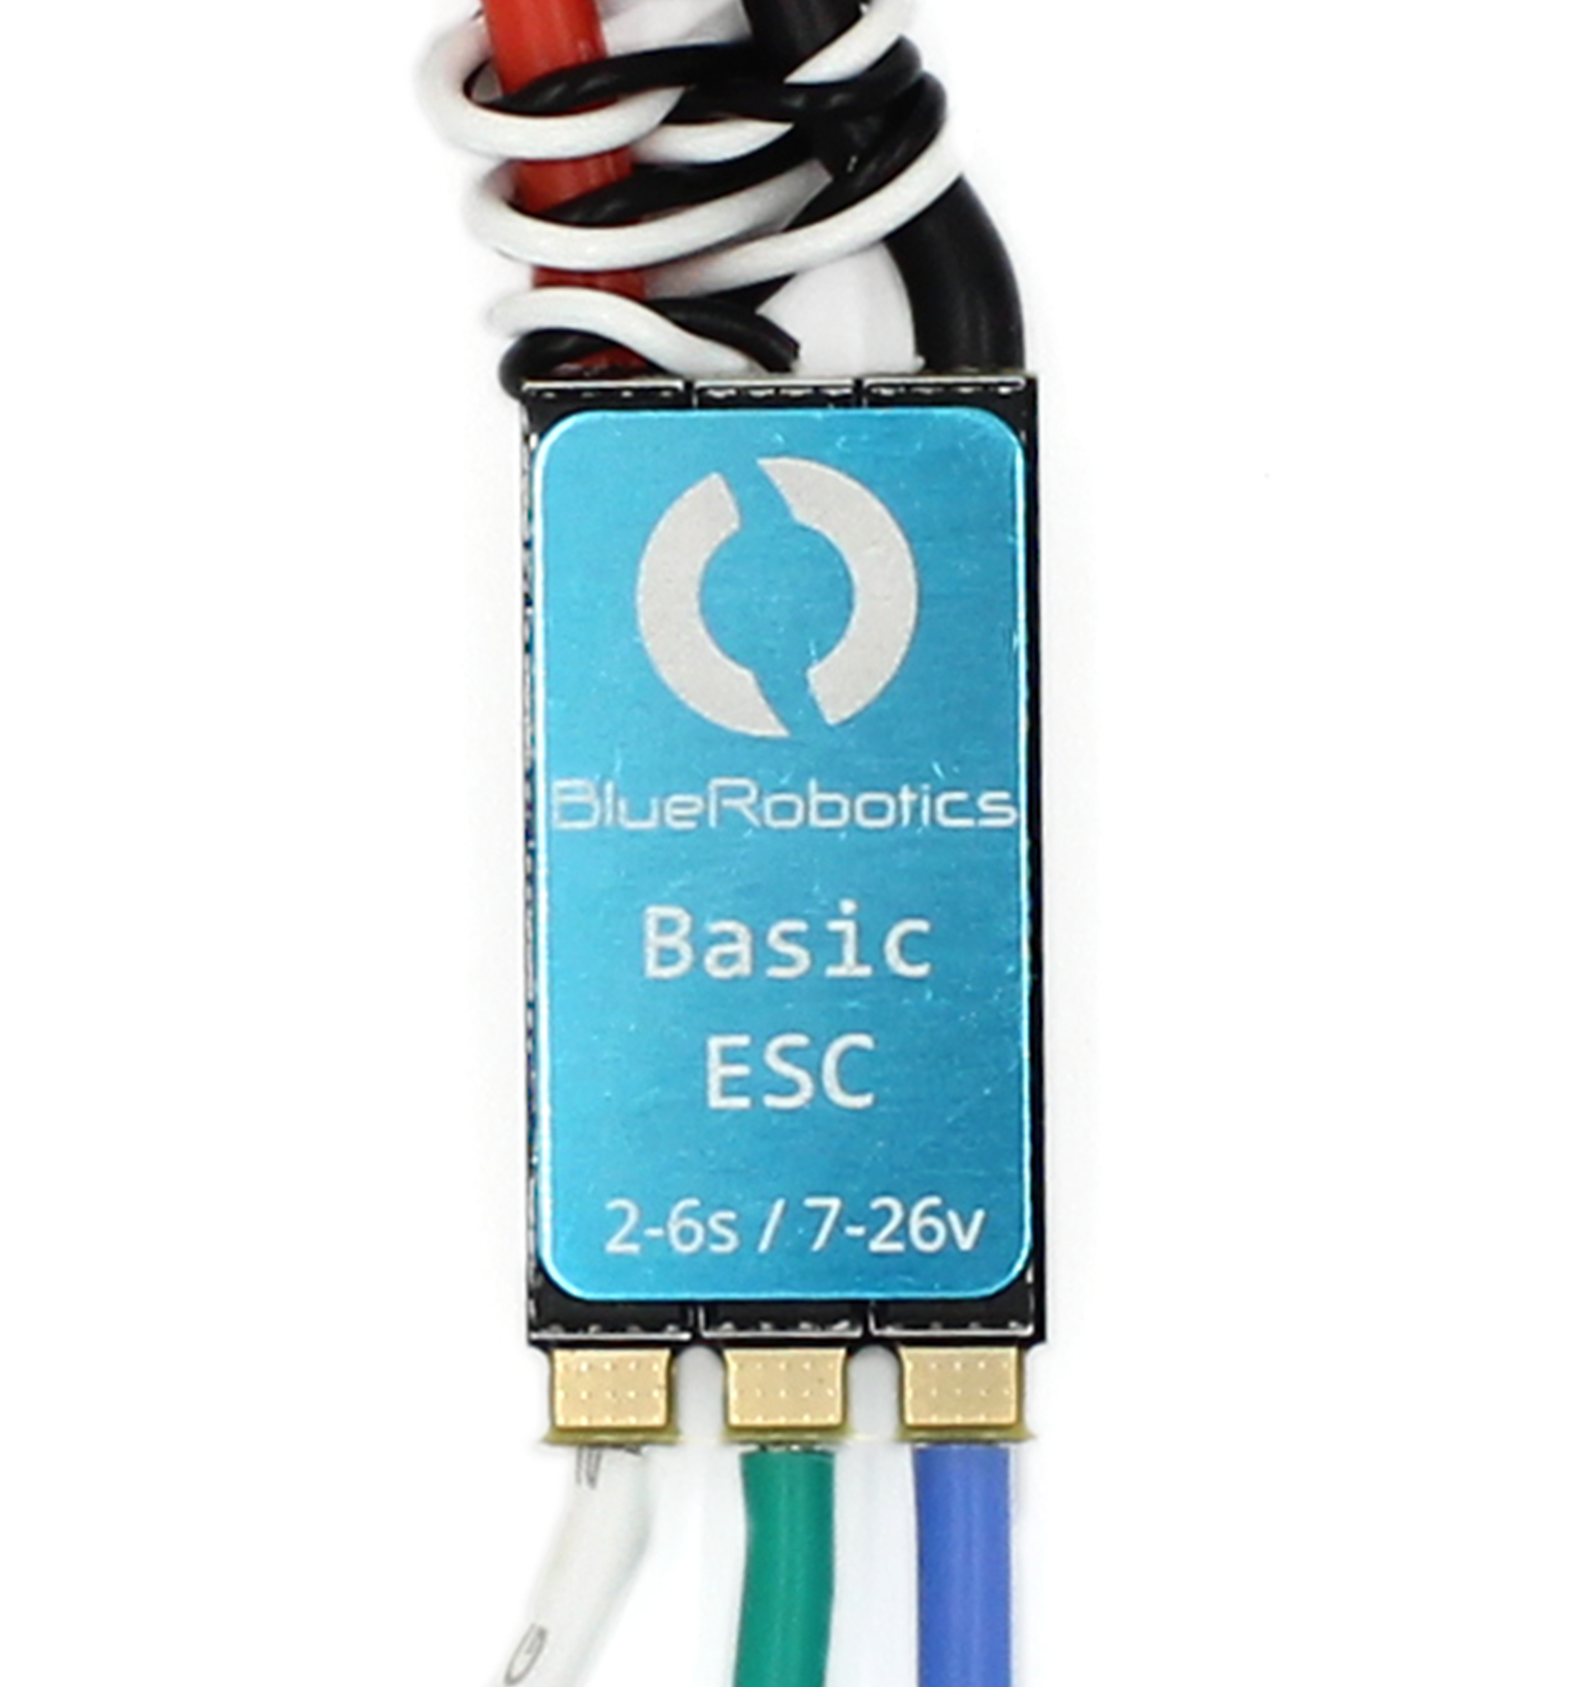
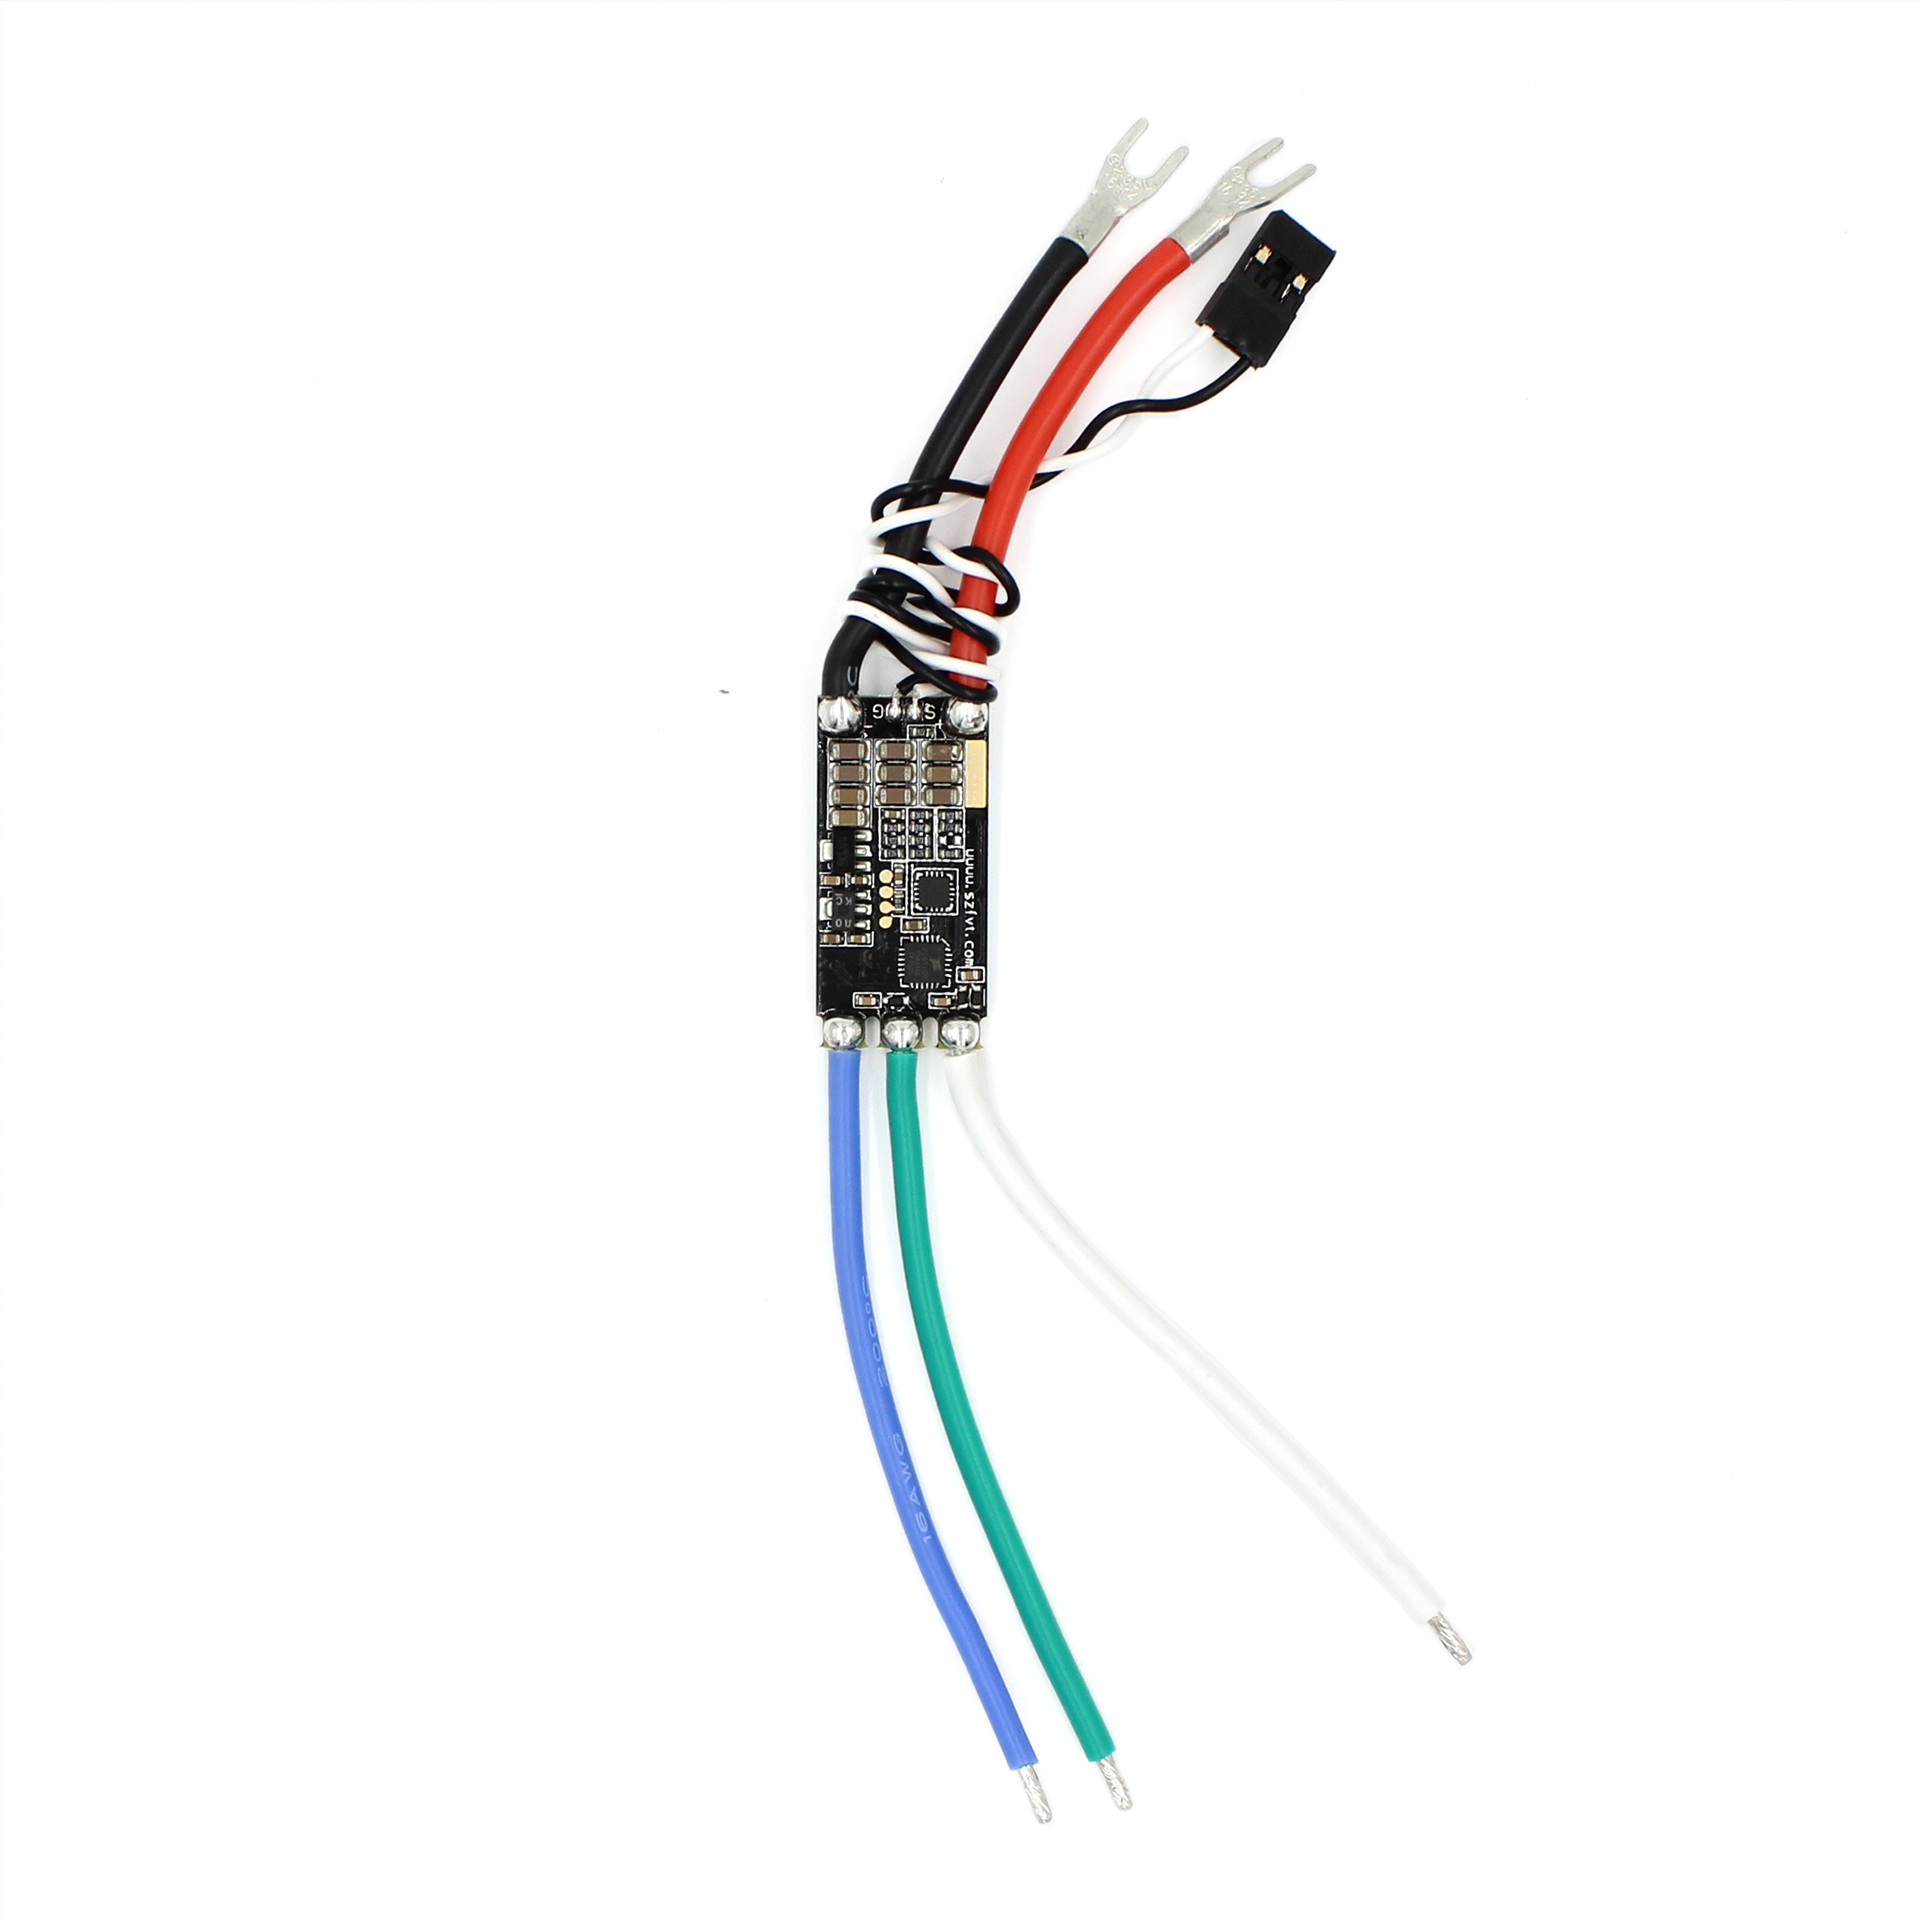
Like all ESCs, the Basic ESC can generate a significant amount of heat when operated. It’s important to consider this when mounting and operating the ESC to ensure that it is not damaged by overheating. Most of the heat is generated in the MOSFETs, which are underneath the blue aluminum heat spreader. Here are a few helpful tips:

1. If possible, make sure the heat spreader is exposed to free air or attached to a larger heat sink.

2. Do not use any adhesives that may insulate the heat-generating components, such as silicone sealant.

Guides

Reviews

There are no reviews yet.

Only logged in customers who have purchased this product may leave a review.

Product Description

An electronic speed controller (ESC) is necessary to run any three-phase brushless motor like Blue Robotics’ thrusters and motors. This 30 amp ESC is sufficient for the T200 thruster and runs the BLHeli_S firmware.

Key Features

  • Simple, robust brushless electronic speed controller
  • Compact form factor
  • Forward/reverse rotation direction for forward/reverse thrust
  • Customizable settings in an easy-to-use interface
  • High-efficiency, low-heat design optimized for minimal cooling environments

Contents

  • 1 x Basic ESC

Specifications

Parameter Value
Electrical
Voltage 7-26 V (2-6S)
Max Current (Constant) 30 A (depending on cooling)
Physical
Weight 16.3 g 0.036 lb
Power Connectors Spade terminals for No. 6 screw
Motor Connectors Tinned wire ends
Signal Connector 3-pin servo connector (0.1” pitch) (ground, blank, signal)
Pulse Width Signal
Signal Voltage 3.3-5 V
Max Update Rate 400 Hz
Stopped 1500 μs
Max forward 1900 μs
Max reverse 1100 μs
Signal Deadband +/- 25 μs (centered around 1500 μs)
Firmware Defaults
Directionality Bidirectional (center throttle is zero/stopped)
Thermal Protection Temperature Motor Power Limit
≥140℃ 75%
≥145℃ 50%
≥150℃ 25%
≥155℃ 0%

2D Drawings

3D Models

BESC30-R3 (.zip)

Documents

Revision History

  • 9 November 2017 | R3 – Initial Release

Safety

When working with electricity, especially in water, always practice caution. Always ensure that connections are secure and watertight. Keep your body away from spinning motors and propellers.

Quick Start

  1. Connect the three motor wires to the motor. The order of connections does not matter; however, switching any two wires will change the direction of the motor. The output phases A, B, and C are completely interchangeable.
  2. Connect the red power wire and black ground wire to a power source like a battery. With a motor connected, you will hear three beeps in rising pitch indicating all three phases are connected.
  3. Connect the signal cable to your signal source like a RC radio receiver or microcontroller board. The white wire is the signal wire.
  4. Send a stopped signal (1500 microseconds) for a few seconds to initialize the ESC. You will hear two tones indicating initialization, and then you can send a signal from 1100-1900 µs to operate the thruster. 1500 – 1900 µs for forward thrust, 1100 – 1500 µs for reverse.

Diagram

Installation and Thermal Considerations

Like all ESCs, the Basic ESC can generate a significant amount of heat when operated. It’s important to consider this when mounting and operating the ESC to ensure that it is not damaged by overheating. Most of the heat is generated in the MOSFETs, which are underneath the blue aluminum heat spreader. Here are a few helpful tips:

1. If possible, make sure the heat spreader is exposed to free air or attached to a larger heat sink.

2. Do not use any adhesives that may insulate the heat-generating components, such as silicone sealant.
Guides

Reviews

There are no reviews yet.

Only logged in customers who have purchased this product may leave a review.

You Might also Love

Shopping Cart
Scroll to Top